


Next.js is the go-to framework I work on when I work with React (esp. when I have the choice). One of the main reasons has always been the structure of the project that is clean and minimal and standard right out-of-the-box.
Even though the framework has provided support for create-next-app for creating templated projects, I prefer creating a project from scratch to avoid any unnecessary dependencies.
With the recent release of version 13 of Next.js, a number of interesting changes have been made, including the introduction of the app router, which is now preferred to the pages router. This makes the folder structure closer to the traditional React app structure.
This article details the flow of create a new project from scratch using the latest standards of Next.js 13.
Let’s init
Create a new folder in the directory of your choice and run the following command to create a new package.json file. yarn is my package manager of choice. Feel free to replace it with npm in all of the commands run.
yarn init
You will then receive the prompts to enter the following details:
Name (I chose to leave it blank, so it defaults to the folder name)
Version — 0.0.1 (Since it is the first version of the project)
Description — A NextJS 13 project built from scratch
Repository URL (left blank, but you can add your own git url link)
Author — Coffee
License — MIT (default)
Private — false

For a new Next.js app, install the latest versions of the packages — next, react, react-dom:
yarn add next@latest react@latest react-dom@latest
Open package.json and add the following scripts:
"scripts": {
  "dev": "next dev --turbo",
  "build": "next build",
  "start": "next start",
  "lint": "next lint"
}
These scripts refer to the different stages of developing an application:
dev: runsnext devto start Next.js in development mode. I used the--turboflag to specify the use of Turbopack, which allows for faster local development. It is currently in beta, replacing the existing Webpack bundler.build: runsnext buildto build the application for production usage.start: runsnext startto start a Next.js production server.lint: runsnext lintto set up Next.js built-in ESLint configuration.
Creating the app folder — The App Router
Create an app folder and add a layout.js and page.js file. These will be rendered when the user visits the root of your application.
Root Layout — layout.js
The root layout is defined at the top level of the app directory and applies to all routes. This layout enables you to modify the initial HTML returned from the server.
Create a root layout inside app/layout.js with the required <html> and <body> tags:
const RootLayout = ({ children }) => {
    return (
        <html lang="en">
            <body>{children}</body>
        </html>
    );
};

export default RootLayout;
Remember: The app directory must include a root layout.
The root layout must define <html> and <body> tags since Next.js does not automatically create them.
You can use the built-in SEO support to manage <head> HTML elements, for example, the <title> element.
Pages — page.js
A page is UI that is unique to a route. You can define pages by exporting a component from a page.js file.
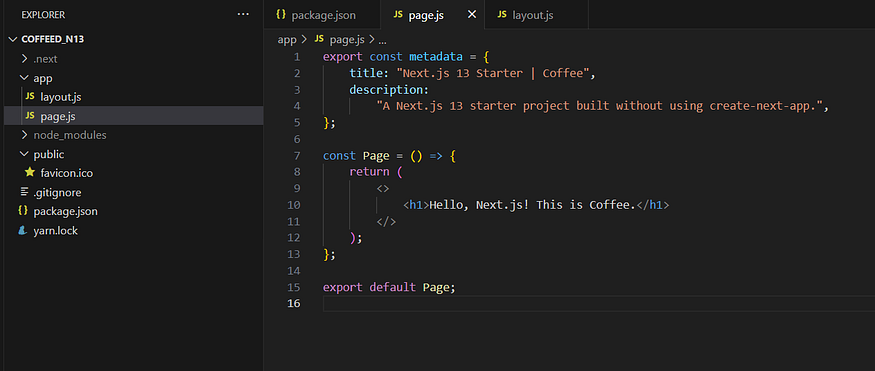
Create a home page app/page.js with some content. Feel free to add your own html in between the <> and </> tags:
export const metadata = {
    title: "Next.js 13 Starter | Coffee",
    description:
        "A Next.js 13 starter project built without using create-next-app.",
};

const Page = () => {
    return (
        <>
            <h1>Hello, Next.js! This is Coffee.</h1>
        </>
    );
};

export default Page;
Declare and export a constant metadata with title and description keys for the page title and description (very useful for SEO).
Pages are Server Components by default but can be set to a Client Component by making use of the “use client” directive.
Creating Routes
Next.js uses a file-system based router where folders are used to define routes. Each folder represents a route segment that maps to a URL segment. To create a nested route, you can nest folders inside each other.
The page.js file is used to make route segments publicly accessible. Make sure to add a page.js file in every folder that you want to access via the web.
In this example, the /dashboard/analytics URL path is not publicly accessible because it does not have a corresponding page.js file. This folder could be used to store components, stylesheets, images, or other asset files.
The Root Layout is shared with all the pages in the app directory. However, if a custom layout is required for a sub-page, a layout.js file can be created in that respective folder along with the page.js file.
A layout is UI that is shared between multiple pages. On navigation, layouts preserve state, remain interactive, and do not re-render.
Creating the public folder
Create a public folder to store static assets such as images, fonts, etc. Files inside public directory can then be referenced by your code starting from the base URL (/).
For example, if you add avatar.png inside public, the following code will access the image:
import Image from 'next/image';

function Avatar() {
  return <Image src="/avatar.png" alt="me" width="64" height="64" />;
}

export default Avatar;
This folder is also useful for robots.txt, favicon.ico, Google Site Verification, and any other static files (including .html)!
Be sure the directory is named
public. The name cannot be changed and is the only directory used to serve static assets.Be sure to not have a static file with the same name as a file in the
pages/directory, as this will result in an error.
The final project folder
Run the Development Server
Run the following command to start the development server.
yarn dev
Visit http://localhost:3000 to view your application. You should see the following screen.
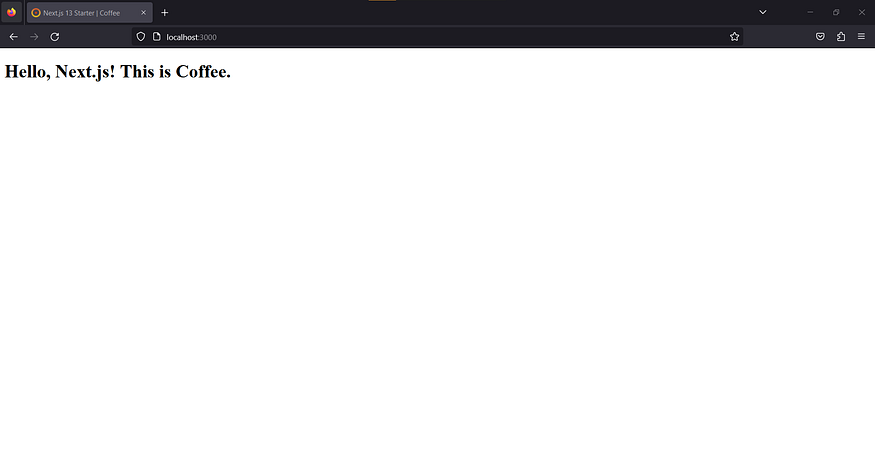
The Next.js 13 home page.
You can see the page title in the browser is set the same as the one we set in the metadata in the page.js.
In Closing
Now that we have created a barebones Next.js project, we can make use of this as a starter template for any projects that are to be built with Next.js. We have full control over the dependencies and we avoided adding any unnecessary ones to the project.
You can access the git repository of this project at: https://github.com/TheCoffee/nextjs-13-starter.git
Hope you found this useful. Let me know your thoughts in the comments below.
References for this article: Next.js Docs
Originally published on May 31st at blog.coffeeinc.in.